AppHub

Documentation (for v3.1.1)

Launchpad screenshot

For questions or proposals, contact me: support@bringbacklaunchpad.com
If you experience problems, please send logs by clicking Help > Send technical data in the AppHub menu bar

This document is also available here: https://bringbacklaunchpad.com/docs.html

The main idea of AppHub (hereinafter, "the Program") is to recreate in full detail the original Apple Launchpad that shipped with macOS in 2011-2025. The project is not complete yet (and most likely it will never be a full 100% copy), but currently I believe this implementation is the closest to the original out there. There are some workarounds that are not present in Apple version, but every significant aspect you know about the Launchpad has been copied at least partially.

Read here about the trackpad gestures support.

TABLE OF CONTENTS

1. The main grid
2. Closing AppHub vs closing its window
3. Compact mode
4. Switching pages
5. Search
6. Hiding apps
7. "Empty icons" and grid management
8. Folders
9. Deleting apps from Mac using the Program
10. Grid scaling
11. Appearance settings
12. Advanced keyboard selection
13. AppHub visibility in Dock and menu bar
14. Hot corners
15. Localization
16. Apple Launchpad import
17. How to reactivate AppHub license key (Gumroad)
18. Updating the program (Gumroad)
19. Layout backups
20. How to uninstall / reinstall the program
21. Known issues

1. The main grid

A page with app icons when no folder is opened is what I call "the main grid". By default, it is a 7x5 grid, that initially is sorted alphabetically. You can have 4, 5, 6, or 7 rows in the grid (only in full screen mode).

By default, apps are extracted by the Program from folders 
/Applications, /System/Applications/Utilities and one level of their subfolders. To include apps from the user folder /Users/user_name/Applications you need to choose it in Settings > Other > Add user applications folder.

When new program is detected, it is added to the grid immediately. If for some reason the grid was not updated, you can force update it in Settings > Other > Refresh App List (⌘ + R)

By default, all apps are sorted alphabetically. You can move them as you wish or go back to the default state using Settings > Other > Sort alphabetically (also available in the menu bar > Service)

To move an app in the grid, press and hold the icon with a mouse, then move. An app can be moved like this to the next or previous page, from any position – just drag it to the left or right edge of the app grid, then release.

By default, when you move an app to the next page, an "empty icon" is added. You can also quickly create new page by moving any app from the last page to the right edge. To change this behavior, disable "Automatically add empty icons when moving apps to the next page" option.

It is also possible to move app icons between pages using the context menu: right click on an app icon to choose the needed option.

Drag & drop in the main grid: to move any app to a folder or to create a folder right from the app grid, press and hold ⌥ Option key and then move an app. After new folder was created or apps were moved to a folder, you can release the ⌥ Option key. This approach is needed to separate normal app icons movement and the case where there is an intention to create / add apps to folders. Although this is not exactly similar to Apple Launchpad behavior, this approach allows to have better experience with much less complex code.

Drag & drop to the Dock: you can add apps that are present in AppHub to your Dock. In either full screen or compact mode, drag any app icon across the bottom border of AppHub window, then move it to the Dock. This works for apps in folders as well.

You can change apps icons size and apps names parameters in Settings > Other.

You can give custom names to apps. Right click an app icon to see "Rename" option. Type new name, press ↩ Enter to save it (press ⎋ Escape or click anywhere to cancel). Renaming apps will not impact how your real apps are named – these names are only visible in AppHub. New apps names are reflected in search results; an app can be found by both original and custom name. Custom names are included in the backups. To reset all custom names, in AppHub menu bar choose Service > Restore original apps names.

For app icons on the grid, AppHub can show notification badges (for opened apps that are visible in Dock). To see them, enable "Show notifications badges" option in Settings > Other > Other awesome options (⌘ + I). This option requires accessibility permissions.

If you have an app that quits on launch when opened from AppHub, it can be fixed by enabling "Open an app again if it was closed in less than 1.5 seconds" option in Settings > Other > Performance.

2. Closing AppHub vs closing its window

By default, after AppHub is launched it is always running. When you open any app from the app grid or close AppHub in any other way, AppHub window is just hidden. To hide the AppHub window, you can:

1) Open any app from the app grid

2) Trigger a hot corner (if enabled). Triggering any hot corner again will reopen AppHub window

3) Click an empty space around the edges of the main grid or between apps icons (if enabled).

Please note, that there are "safe zones" around the page indicators dots. Also, in the compact mode, click-to-exit zones are limited – to make it easier to move AppHub window: 

Also, if empty icons are added and "Show empty icons" option is disabled, clicking spots where empty icons are placed will close AppHub window as well.

4) Do a spread gesture on trackpad (if enabled). Read more about trackpad gestures

5) Press ⎋ Escape key. In full screen mode: when on the main grid; in compact mode: when on the main grid or in folders (however, if "Select apps with keyboard" option is enabled, pressing Escape key closes the folder, not AppHub window)

6) Click AppHub icon in Dock once. Clicking it again will reopen AppHub window

7) Press keyboard combination that is set in Settings > Other > Shortcut to open AppHub.
You can use existing combination or add the custom one. "Click to record…" field will accept any combination that includes 2 keys or more, so be sure to add a reasonable keyboard shortcut that will not cause conflicts. To clear "Click to record…" field, press ⌫ Delete key when recording combination.
You can also assign any combination for AppHub "New Window" action in macOS system settings (default is ⌘ Command + N), so you can have several keyboard shortcuts for showing AppHub window at the same time.

To exit the program completely, you can:
1) click "Quit AppHub" option in the menu bar item
2) click "Quit" in the AppHub options in the Dock or AppHub menu bar item
3) press ⌘ Command + Q

If "Quit on window close" option is enabled, AppHub will quit after any app is opened, ⎋ Escape key pressed, or background clicked (if enabled). Note, this option does not apply to hot corners, keyboard shortcuts, or trackpad gestures.

By default, when you open other apps' windows (and AppHub loses focus), AppHub is closing. So, for example, clicking an app in Dock will close AppHub – which is similar to how Apple Launchpad worked. If you don't like this behavior, you can disable it in Settings > Other > Other awesome options > Close AppHub when focus is lost. Note, if "Quit on window close" option is enabled, AppHub will quit when other apps' windows are opened.  

3. Compact mode

By default, AppHub is opened in full screen mode. You can enable compact mode in Settings > Other > Design. The compact mode window can be resized and moved around. When you change the window size, apps icons become bigger or smaller (note, changing app icons size in Settings is unavailable when compact mode is enabled). You can also disable apps names and indicator dots in Settings to have more flexibility.

Folder icons are not shown on the main grid in compact mode. Instead, when a folder is added, the folders bar appears, which lists all the folders. Click a folder in a folders bar to open it, X button to close ( ⎋ Escape key always closes AppHub window in compact mode, unless "Select apps with keyboard" is enabled). Folders bar can be scrolled in 2 ways:

1) Swipe left or right with two fingers on the trackpad
2) Scroll up or down with a mouse wheel (Mighty Mouse and Magic Mouse also support scrolling left or right)

You can also change the order of folders in the folders bar: right click on a folder and choose either "Move left" or "Move right" option in the context menu. Another way is to change the order of folders in Settings > Folders list: just click and hold a folder name / icon, then drag it.

By default, in compact mode your last opened folder is remembered: if you hide AppHub window (or even quit the program completely), next time your last opened folder will be opened. You can change this behavior in Settings > Other > Other awesome options > Folder persistence on AppHub launch.

To move app in a folder with drag & drop, drag an app icon to a folder in the folders bar while pressing the ⌥ Option key: 

4. Switching pages

Like in the original Launchpad, there are several ways to switch pages:
1) Swipe left or right with two fingers on the trackpad
2) Swipe up or down with two fingers on the trackpad
3) Scroll up or down with a mouse wheel (Mighty Mouse and Magic Mouse also support scrolling left or right)
4) Click and hold with a mouse to switch pages ("Dragging with mouse to switch pages" option in Settings > Other > Other awesome options should be enabled)
5) Click on a page indicator dot
6) Press ⌘ Command and ← → keys
7) Move selection to another page with ← → keys (should be enabled in Settings > Other > Select apps with keyboard)

6. Hiding apps

You can hide apps from the main grid and folders. To do this, you can:
1) Hide an app in the list in Settings > Apps
2) Hide an app using the context menu: right click on an app and choose "Hide app" option
3) Hide an app by Force Touch clicking an app icon in the main grid (should be enabled in Settings > Other > Other awesome options > Force Touch actions)

By default, "Apps" app is hidden on macOS 26 and "Launchpad" app is hidden on macOS 15. Hiding an app has an immediate effect. Note, that hidden apps are not shown in the list when a new folder is created.

Note: when unhidden, apps appear in the end of the grid (on the last existing page). Does not matter where the hidden app was placed before (its position on the main grid or in a folder) – this is done for predictability.

7. "Empty icons" and grid management

If you want spaces in your app grid (empty spots at the bottom, or maybe a completely custom layout like on iOS 18 home screen), you need to create "empty icons". They can be moved like normal app icons (you can even right click them to see the context menu), though they can be invisible. To make arrangement easier, you can toggle their appearance in settings or by pressing ⌥⌘ + E. By default, empty icons are visible.

To create an empty icon on the page where you need it, first switch to that page, then add new empty icon by:
1) pressing ⌘ Command + E
2) in the menu bar: Service > New empty icon
3) press + icon in Settings > Other > Empty icons

Empty icons can be also created in folders (open a folder first and your desired page).

Empty icons are created automatically when you move an app to the next page (unless "Automatically add empty icons when moving apps to the next page" option is disabled). 

8. Folders

Hierarchy is what made Apple Launchpad so useful. To create a folder, you can:
1) Right click an app icon to choose "Add to folder" option
2) Drag & drop apps on top of each other while ⌥ Option key is pressed
3) Add a new folder in Settings > Folders

When in a folder, its name is shown above the grid. On some high resolution displays folder name can overlap with app icons; if that's the case, you can move folder name lower or higher in Settings > Grid scale > Show folder names section. You can also completely hide folder name when in folder.

A folder can be renamed in settings or right in a folder itself: when a folder is opened, just click its name twice, edit it, then press ↩ Enter key to save new name. 

You can press ⎋ Escape key to close a folder in full screen mode. In compact mode it closes the AppHub window, unless "Select apps with keyboard" is enabled.

Folders support all switching pages methods that the main grid supports.

Apps can be moved in folders in a similar fashion as in the main grid. To remove an app from a folder, you can:
1) Choose "Remove from folder" option in the context menu
2) Press and hold ⌥ Option key, then click on every app you want to remove from a folder. Note, that the last app in a folder can't be removed with this method
3) Edit a folder in Settings > Folders

Note: after removed from a folder, apps appear in the end of the grid (on the last existing page). Also, after last app was removed from a folder, AppHub relaunch is needed.

Right click a folder in the main grid to see all its options.

In Settings > Folders you can automatically organize your apps in folders using Google AI models. All you need to do is to add a free Gemini API key. Google's privacy policies apply. AI sorting feature is completely optional to use.
Used models: gemini-2.5-flash-lite ("Faster"), gemini-2.5-flash ("Better"). For 100-200 apps, "AI sorting" process takes roughly 5 seconds ("Faster") or 1 minute ("Better"). You can sort either all your apps (this will reset your layout) or only the apps which are not in folders (the new folders will be added in the end of your current layout).
To cancel "AI sorting" when it's in progress, close AppHub settings window or switch to another tab.

9. Deleting apps from Mac using the Program

The Program can move apps on your Mac to Trash if needed. To do this, you can:
1) Right click on an app icon, then choose "Delete app"
2) Do a Force Touch click on an app icon in the main grid (should be enabled in Settings > Other > Other awesome options > Force Touch actions)
In both cases, a confirmation dialogue will be shown.

For system programs, the button is not active. Unlike Apple Launchpad, the Program can delete third-party apps downloaded from the web, however apps from the App Store cannot be deleted.

Deleting an app will instantly remove its icon from the app grid, while restoring that app from Trash will restore an app in the app grid either with next AppHub launch or after "Refresh app list" (⌘ + R). Important: when restored, apps appear in the end of the grid (on the last existing page).

10. Grid scaling

Everyone use different screens, resolutions, and UI scaling settings. By default, the Program adjusts scaling automatically, dynamically changing spacing between the app rows. Default setting for your display is calculated based on the macOS UI scaling resolution. If you don't like the apps grid layout, you can change it in Settings > Other > Grid scale

By default, scaling is set automatically on launch. You can disable this to save your preferred settings: Settings > Other > Grid scale > Set scaling automatically.

You can also disable indicator dots and toggle grid scaling in folders for a cleaner look.

If you want more narrow app grid (like in Apple Launchpad), choose "Apple Launchpad width" in Settings > Other > Other awesome options > Grid style. This setting only affects app grid in full screen mode. Note, that because of less space available, "Click background to hide AppHub" option may not work properly (app icons clicks can be seen as background clicks), therefore this option is automatically disabled when "Apple Launchpad width" is activated.

11. Appearance settings

You can change background style in Settings > Other > Design to make it more or less transparent. You can also add a custom picture (ideally, with a blur applied). The built-in feature to blur custom picture can also be used, however the blur will be half transparent, blending your picture and the Desktop wallpaper.

Text color can be changed to black or white, which may be useful for different environments. Default setting will make color correspond to macOS Light or Dark mode. You can also change apps names size.

What changes when "Liquid Glass" background is chosen:
•  Main grid background
•  Folder area style when a folder is opened (full screen mode)
•  Folders icons style on the main grid (full screen mode)

You can change the AppHub icon right from the AppHub. To do this, open "About AppHub" window – you will see an app icon there. Right click that icon to see the list of 20 additional icons to choose from. Note, that only the default icon supports dynamic style changing in macOS 26. That said, additional icons include variants for Default, Dark, Clear Light, and Clear Dark styles. Available icons:

•  Original Launchpad rocket icon without the circle – 5 icons
•  Original Launchpad rocket icon with circle included – 5 icons
•  Big Sur Launchpad icon, original Apple colors – 2 icons
•  Big Sur Launchpad icon, AppHub version (soft pastel colors) – 2 icons
•  Tahoe Apps icon – 4 icons

When you choose a new icon from the list, it is changing instantly – even in Dock and Finder. Sure, you can also change AppHub icon manually in Finder, if you have your own custom variant. 

12. Advanced keyboard selection

You can enable Settings > Other > Select apps with keyboard option.
When enabled, pressing ↑ ↓ ← → keys will visually select the first app on the current page. When an app or a folder is selected, press ↩ Enter key to open it. You can press ⎋ Escape key to close a folder. In compact mode, you can press Tab key to switch focus between the main grid and folder bar, then select a folder with ↩ Enter.

For switching pages with ⌘ Command and ← → keys, and also for all cases when ⎋ Escape key is used, Advanced keyboard selection does not have to be enabled.

13. AppHub visibility in Dock and menu bar

You can enable AppHub in the menu bar in Settings > Other. This will allow you to quickly open AppHub window, AppHub settings, or change hot corners configuration.

You can also quickly launch all your apps from the menu bar. To do this, enable "Apps list in the menu bar" in Settings > Other > Other awesome options. You can choose to show either all your visible apps (those that are not hidden) or only folders.

AppHub can be visible:
1) only in Dock
2) in both menu bar and Dock
3) only in menu bar
4) hidden in both menu bar and Dock

"Hidden" mode works best when a keyboard shortcut or hot corners are used. 

⚠️  To access AppHub settings when AppHub is in hidden mode, double click AppHub icon in Finder > Applications folder to open AppHub window. Then press ⌘ + , (Command and comma keys) to open the settings window.

14. Hot corners

You can enable hot corners in Settings > Hot corners. Then you can choose which hot corner will trigger hiding or reopening AppHub window. Be sure to disable system hot corners in macOS settings to avoid conflicts.

You can also make it work only when one of the modifier keys is pressed: ⌘ Command, ⌥ Option, ⌃ Control, or ⇧ Shift. 

15. Localization

To change language of the Program UI, go to System Settings > General > Language & Region > Apps and add AppHub there. Currently supported languages are English, German, French, Ukrainian, Hungarian.

By default, language of app names in the Program corresponds to your system language. In order to speed up loading times, app names analysis (searching for names translations) is only made once after the first launch of the Program. To do analysis again, click Settings > Other > Translate app names on next launch (note, that next launch of the Program may take slightly more time). You can also restore app names to English. Both options require the Program relaunch.

16. Apple Launchpad import

If you are using macOS 15, have updated to macOS 26 (did NOT reinstall the system completely) or happened to have Apple Launchpad configuration files, you can import Apple Launchpad app grid settings to AppHub. To do this, go to Settings > Other > Apple Launchpad import.

"Automatic" option will try to find Apple Launchpad configuration files on your Mac. If Launchpad database files exist, no additional steps are needed.

"Choose folder" option expects a folder (folder name is not important) with 3 Launchpad database files: db, db-shm, db-wal.
⚠️  "Choose folder" option expects a simple folder with Launchpad files, not a folder with subfolders that have the required files somewhere inside (it will not search recursively).

Here's how to find Launchpad database files in macOS 15 and earlier:
1. In Finder, press ⇧⌘G and go to folder /private/var/folders
2. Since database folder location may vary, paste com.apple.dock.launchpad in search. Inside that folder there should be 3 files
3. Copy that folder to your desired location and specify a path to it in "Choose folder" window

Important: it is not clear when Apple will remove Launchpad configuration files on macOS 26 (for users who updated from previous systems). Maybe in 10 years, maybe in the next release. Be sure to save Launchpad configuration if it is important to you. 

17. How to reactivate AppHub license key (Gumroad)

AppHub license key can be only used on 1 Mac – because of how Gumroad license keys API work (I would gladly sell a bundle with 2 or more keys at a discount, but that's not possible with current Gumroad implementation). If you need more than 1 license, please contact me: support@bringbacklaunchpad.com

In AppHub 2.2.1 a safeguard mechanism was added: if connection with the license was lost for some reason, AppHub will try to restore it: on AppHub launch you will see the message – "AppHub wants to access key 'com.ilaunch.license' in your keychain ". Click "Always allow" and the license key should be restored.


 ✅  If you want to add your existing license key to AppHub on your other Mac user accounts, please start from section 17.2

If you have problems with activation, make sure that you are using the latest AppHub version. If nothing helps, proceed with the steps below to reinstall AppHub license on your Mac.


17.1 Quit AppHub app. Please double check whether AppHub is running, since:
•  AppHub can be launched automatically if you enabled "Open at login" option
•  AppHub can be invisible if you set it to "Hidden" in AppHub visibility settings 

Next, you’ll need to delete AppHub license in the Keychain.app. Find com.ilaunch.license in Keychain: 

⚠️  Important: there is a very old Keychain app bug: if an item was found through search, it can't be deleted right from the search results (will reappear later). You need to find it in "login" page manually, then delete (yes, that's Apple software in Federighi era).

Your AppHub license will be removed. You can launch AppHub to make sure that it is in a paywalled state.


17.2 Quit AppHub app. Please double check whether AppHub is running, since:
•  AppHub can be launched automatically if you enabled "Open at login" option
•  AppHub can be invisible if you set it to "Hidden" in AppHub visibility settings 

Now you need to add the license. Open Keychain.app, File > New Password Item. Paste this information:

Keychain Item Name: com.ilaunch.license
Account Name: gumroad_license_key
Password: your license XXXXXXXX-XXXXXXXX-XXXXXXXX-XXXXXXXX


17.3
Then open the newly created item and on the "Access Control" tab add the AppHub app, then save:


17.4
When opening AppHub for the first time after that, type your Mac password and click "Always Allow":

Your purchased license key should activate AppHub then.

18. Updating the program (Gumroad)

AppHub automatically scans for new version once per day. You can disable automatic updates check in "About AppHub" window.

When update is ready, "Software Update" window is shown. You can choose:
•  "Install Update" – instantly updates to the latest version, AppHub is relaunched automatically
•  "Remind Me Later" (or X button) –  update window will be shown again within 24 hours
•  "Automatically download and install updates in the future" option
•  "Skip This Version" – will never remind about this specific update

AppHub configuration files are normally not impacted, so your AppHub settings and the app grid layout should not change. If you want, you can make a backup of the current app grid layout (see 19. Layout backups).


⚠️  If you are updating from version 2.0.1 or earlier, your current apps layout may be reset. If this happened, AppHub data might be in a different folder. After update, do this:

1.  In Finder, press ⇧⌘G and go to file:
~/Library/Containers/com.bohdan.ilaunch.app/Data/Library/Preferences/com.bohdan.ilaunch.app.plist
If it exists, copy it, then

2. Go to file:
~/Library/Preferences/com.bohdan.ilaunch.app.plist
Remove this file and replace it with the file from step 1.

Your AppHub settings should be restored.

19. Layout backups

You can export your app grid layout to a file and import it later. To do this, in AppHub menu bar choose File > Export layout... or File > Import Layout...

Backups include: apps and folders positions, the list of hidden apps, custom apps names.

In Layout recovery window you can either import from file or use an automatically created backup. Backups are automatically created every 5 AppHub launches, but not more than 3 times an hour. AppHub can create up to 10 automatic backups (older ones will be removed). You can also remove automatic backups manually in Layout recovery window or in folder:
~/Library/Application Support/AppHub/Backups

20. How to uninstall / reinstall the program

To completely uninstall AppHub from your Mac:
1. Move AppHub icon to Trash
2. Find and remove configuration files:

/Users/your_name/Library/Application Scripts/com.bohdan.ilaunch.app

/Users/your_name/Library/Application Support/AppHub

/Users/your_name/Library/Caches/com.bohdan.ilaunch.app

/Users/your_name/Library/HTTPStorages/com.bohdan.ilaunch.app

/Users/your_name/Library/Preferences/com.bohdan.ilaunch.app.plist


/private/var/folders/   
search for  com.bohdan.ilaunch.app

You can also use specialized software to delete AppHub remnants quicker. I recommend Nektony App Cleaner & Uninstaller.

3. For AppHub reinstall: if you have not removed AppHub license key manually, you can just install AppHub again. For the license key reinstall, please see 17. How to reactivate AppHub license key (Gumroad).

21. Known issues

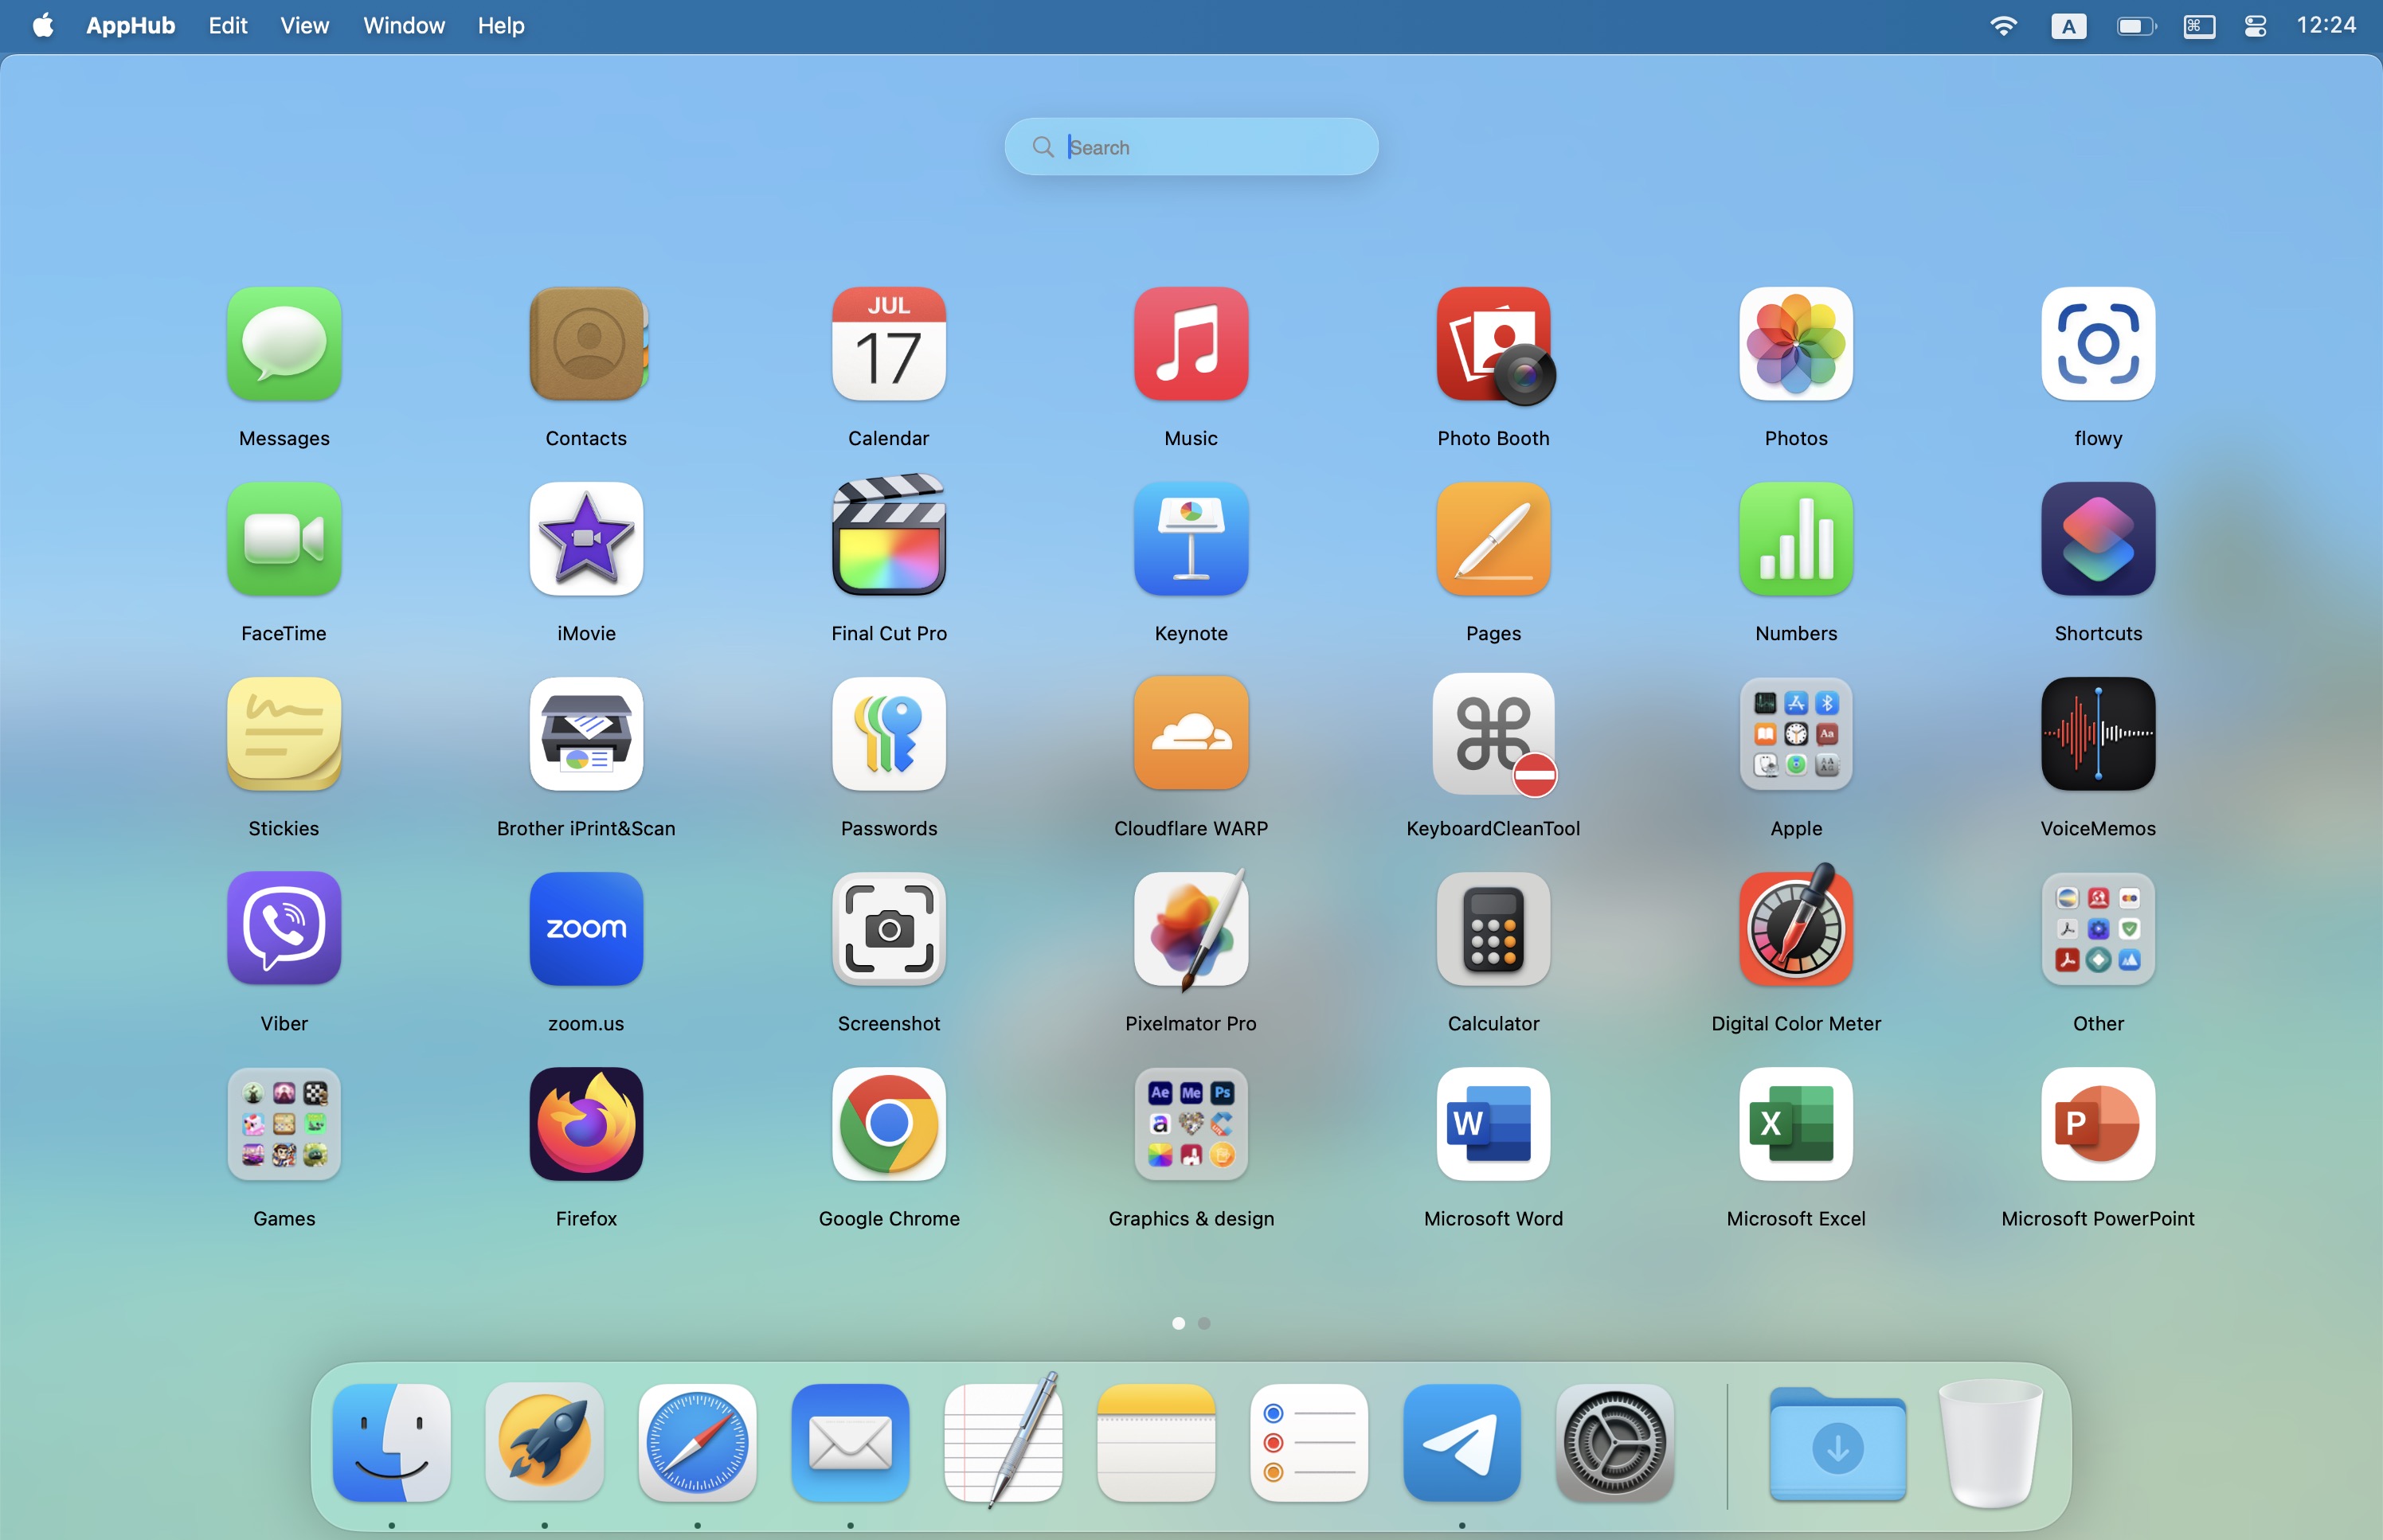
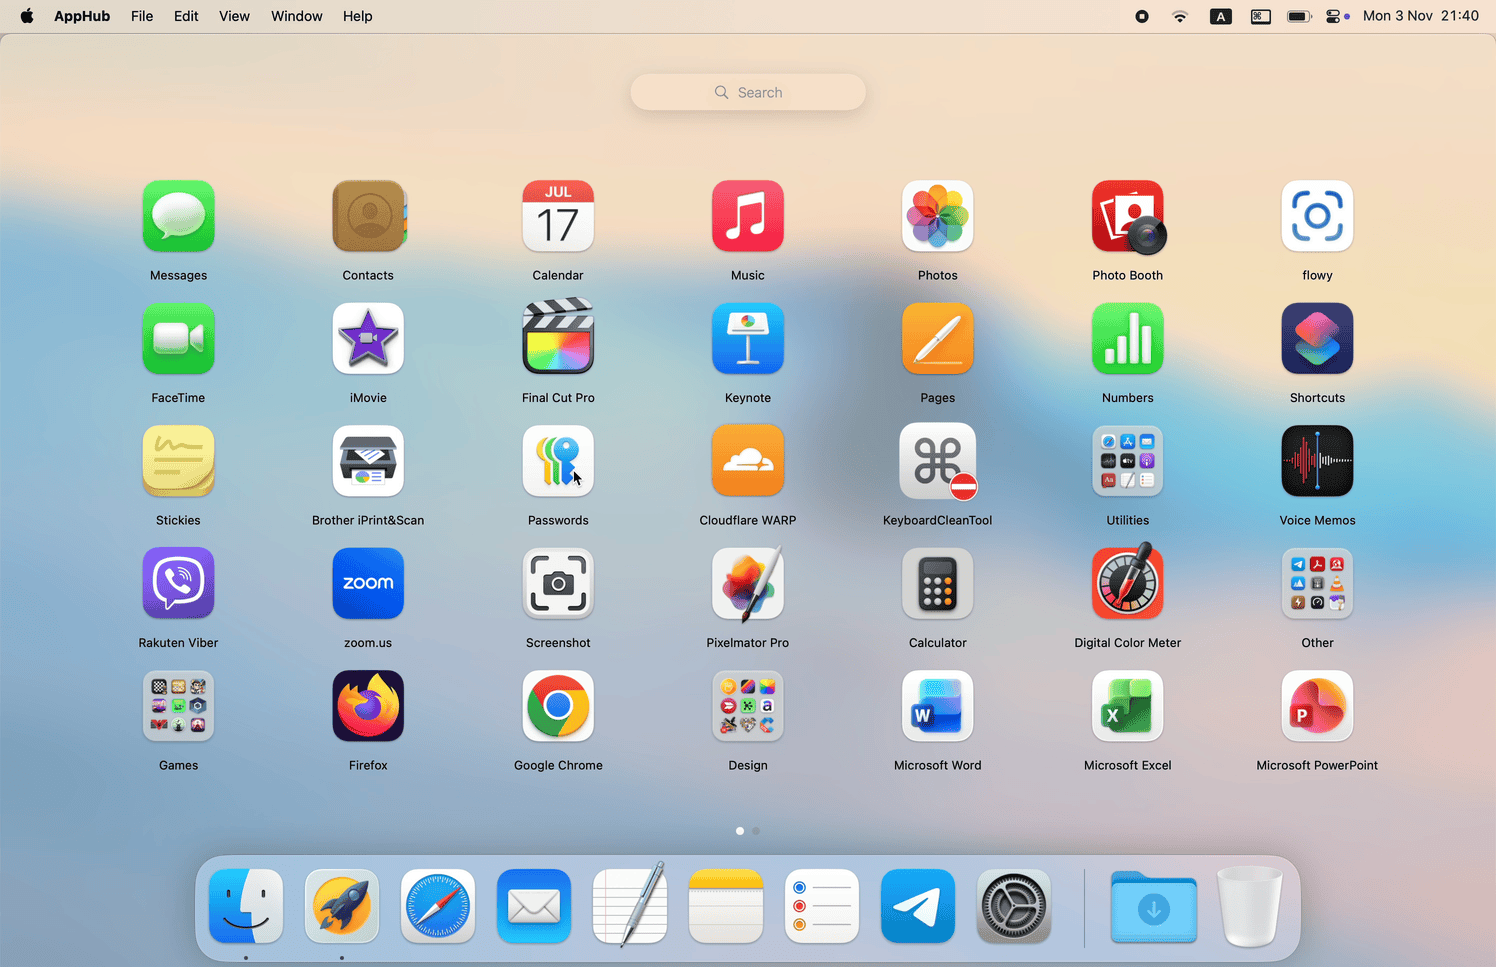
21.1 If user has 300-400 apps or more installed, performance (pages switching, etc.) may degrade.

21.2 Currently you cannot open AppHub with a keyboard combination if AppHub app is not running. As a workaround, you can create a shortcut in Apple Shortcuts app that will open AppHub app, then assign a keyboard combination to that shortcut.

21.3 Adding AppHub as a login item is not supported. Fixed in v.2.2.0
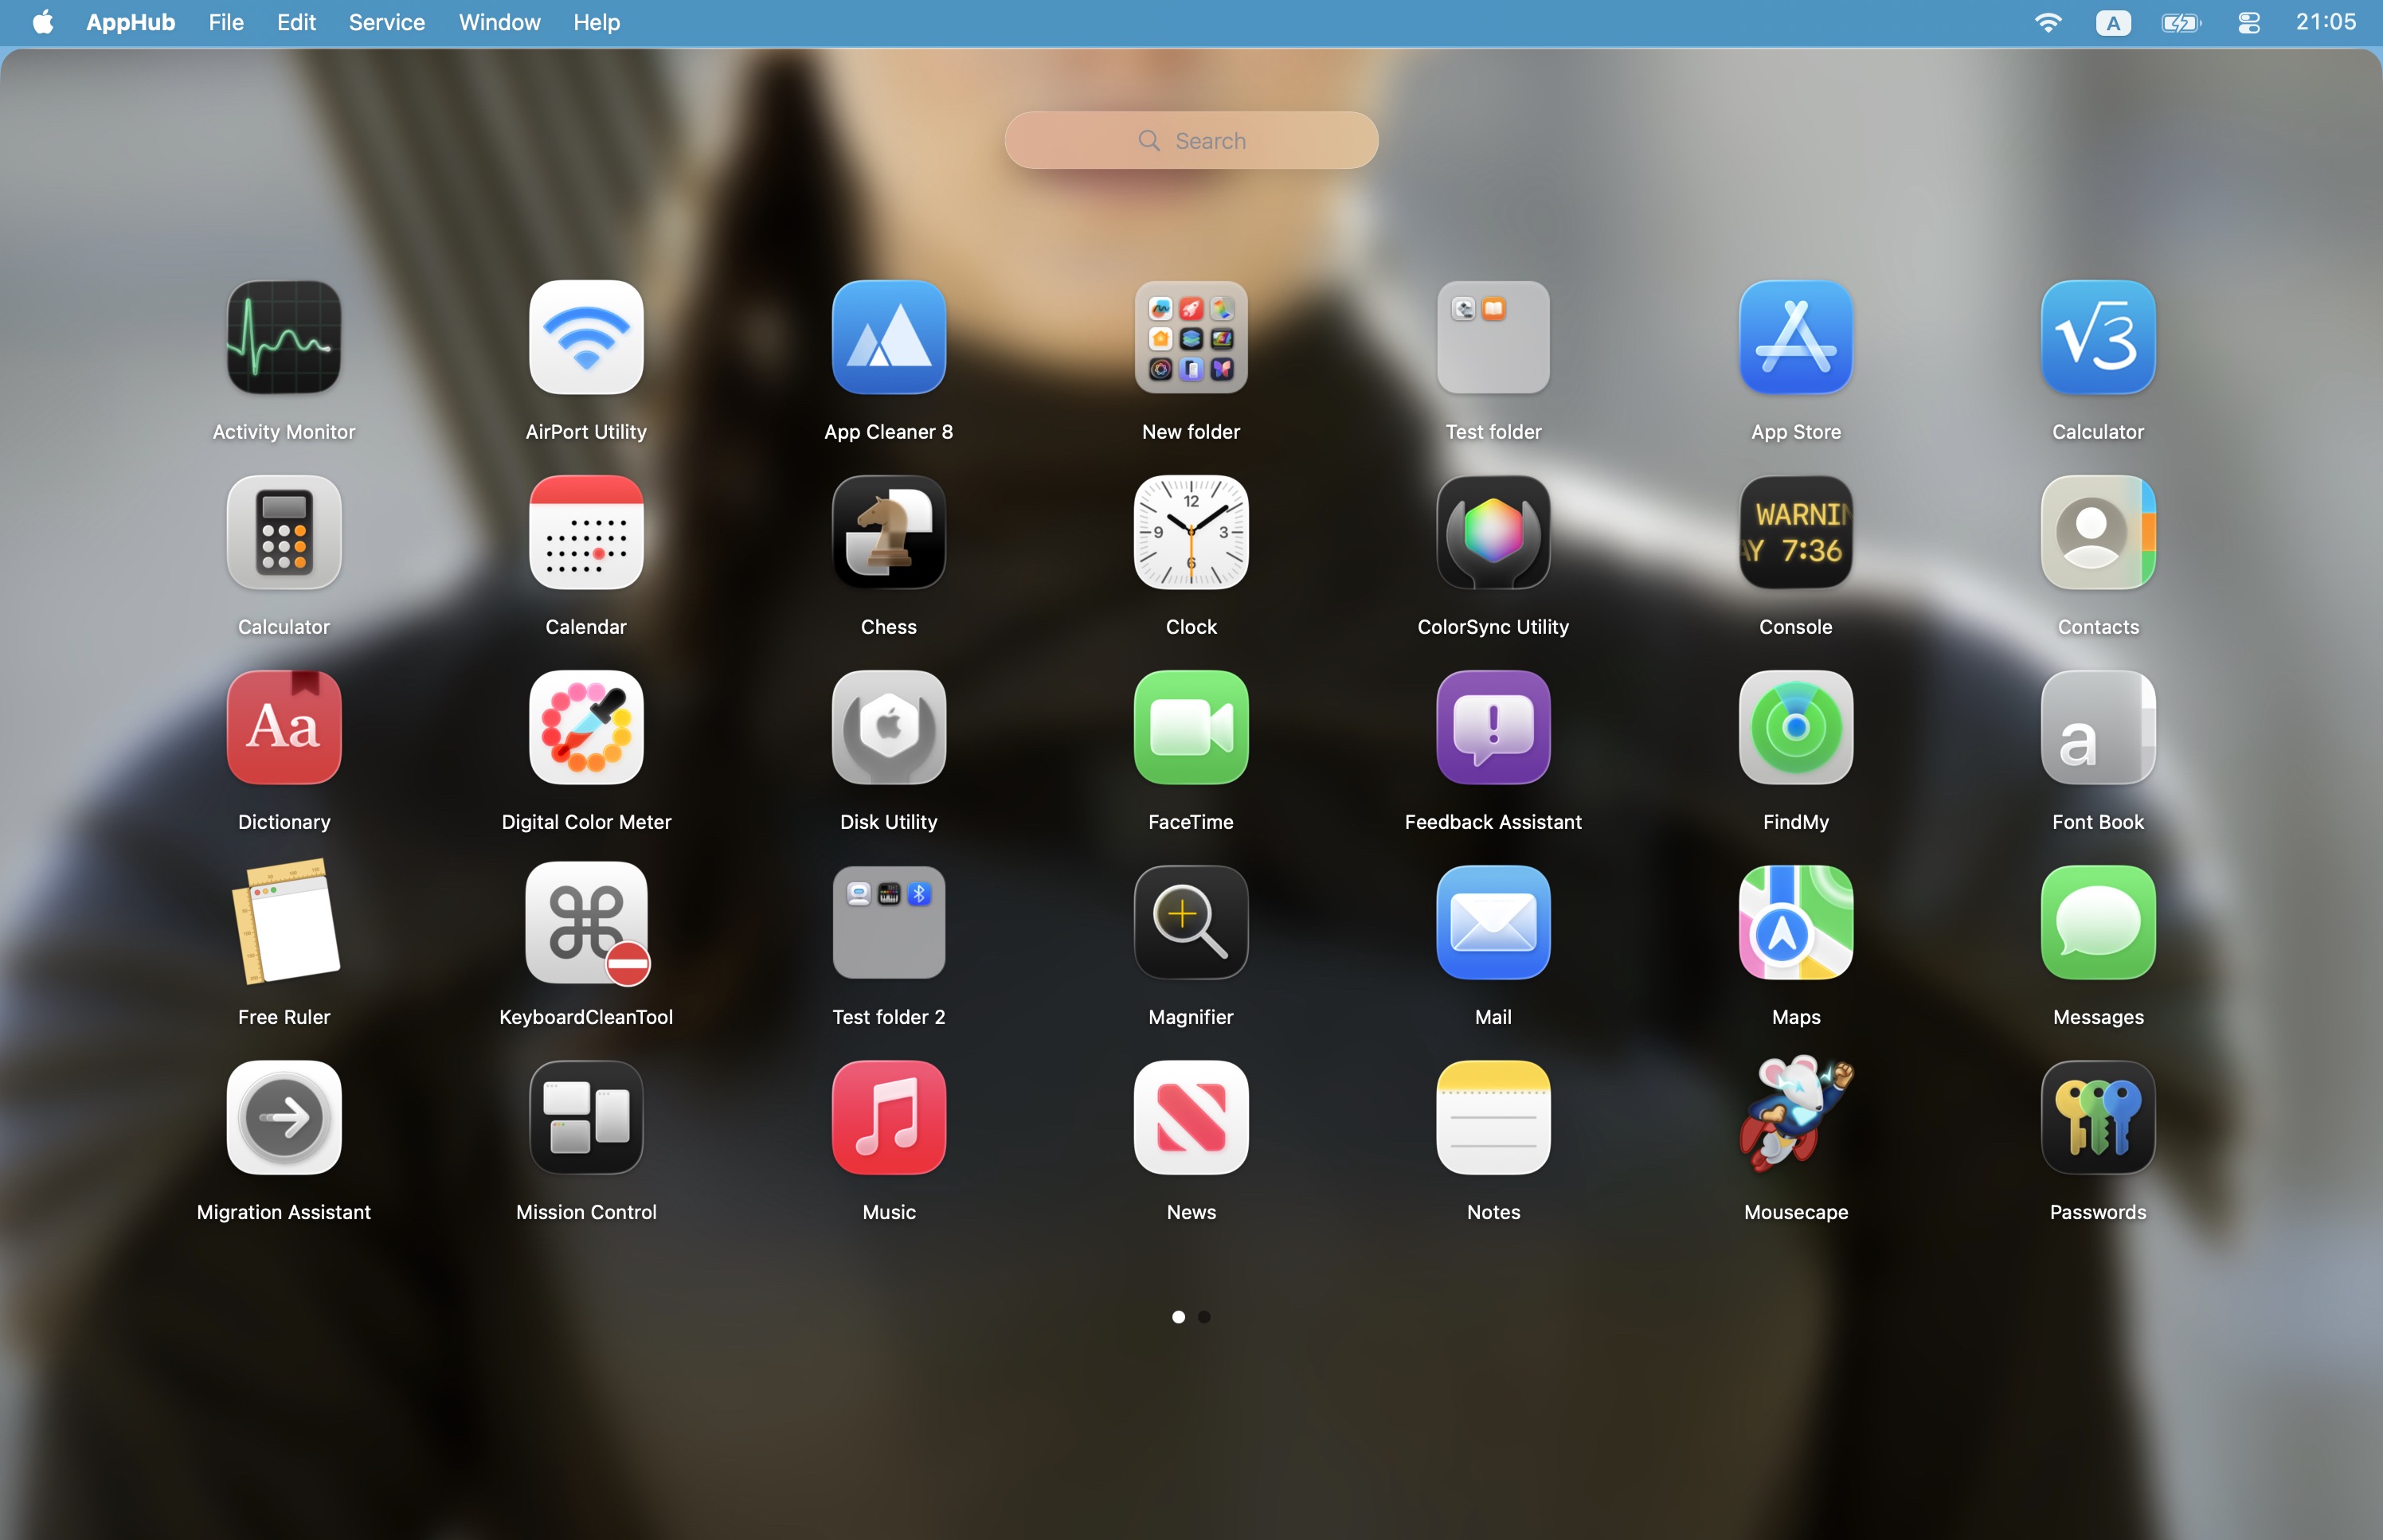
21.4 When "Background picture" is enabled in Settings > Other > Background style, AppHub tries to use current Desktop image as the default background. However, it only works correctly if you have a static image set; if you set a dynamic wallpaper (HEIC file), AppHub will use default macOS picture as a fallback.

21.5 In full screen mode, if a folder has several pages, clicking empty space on the right (outside of the folder box) will not close the folder.

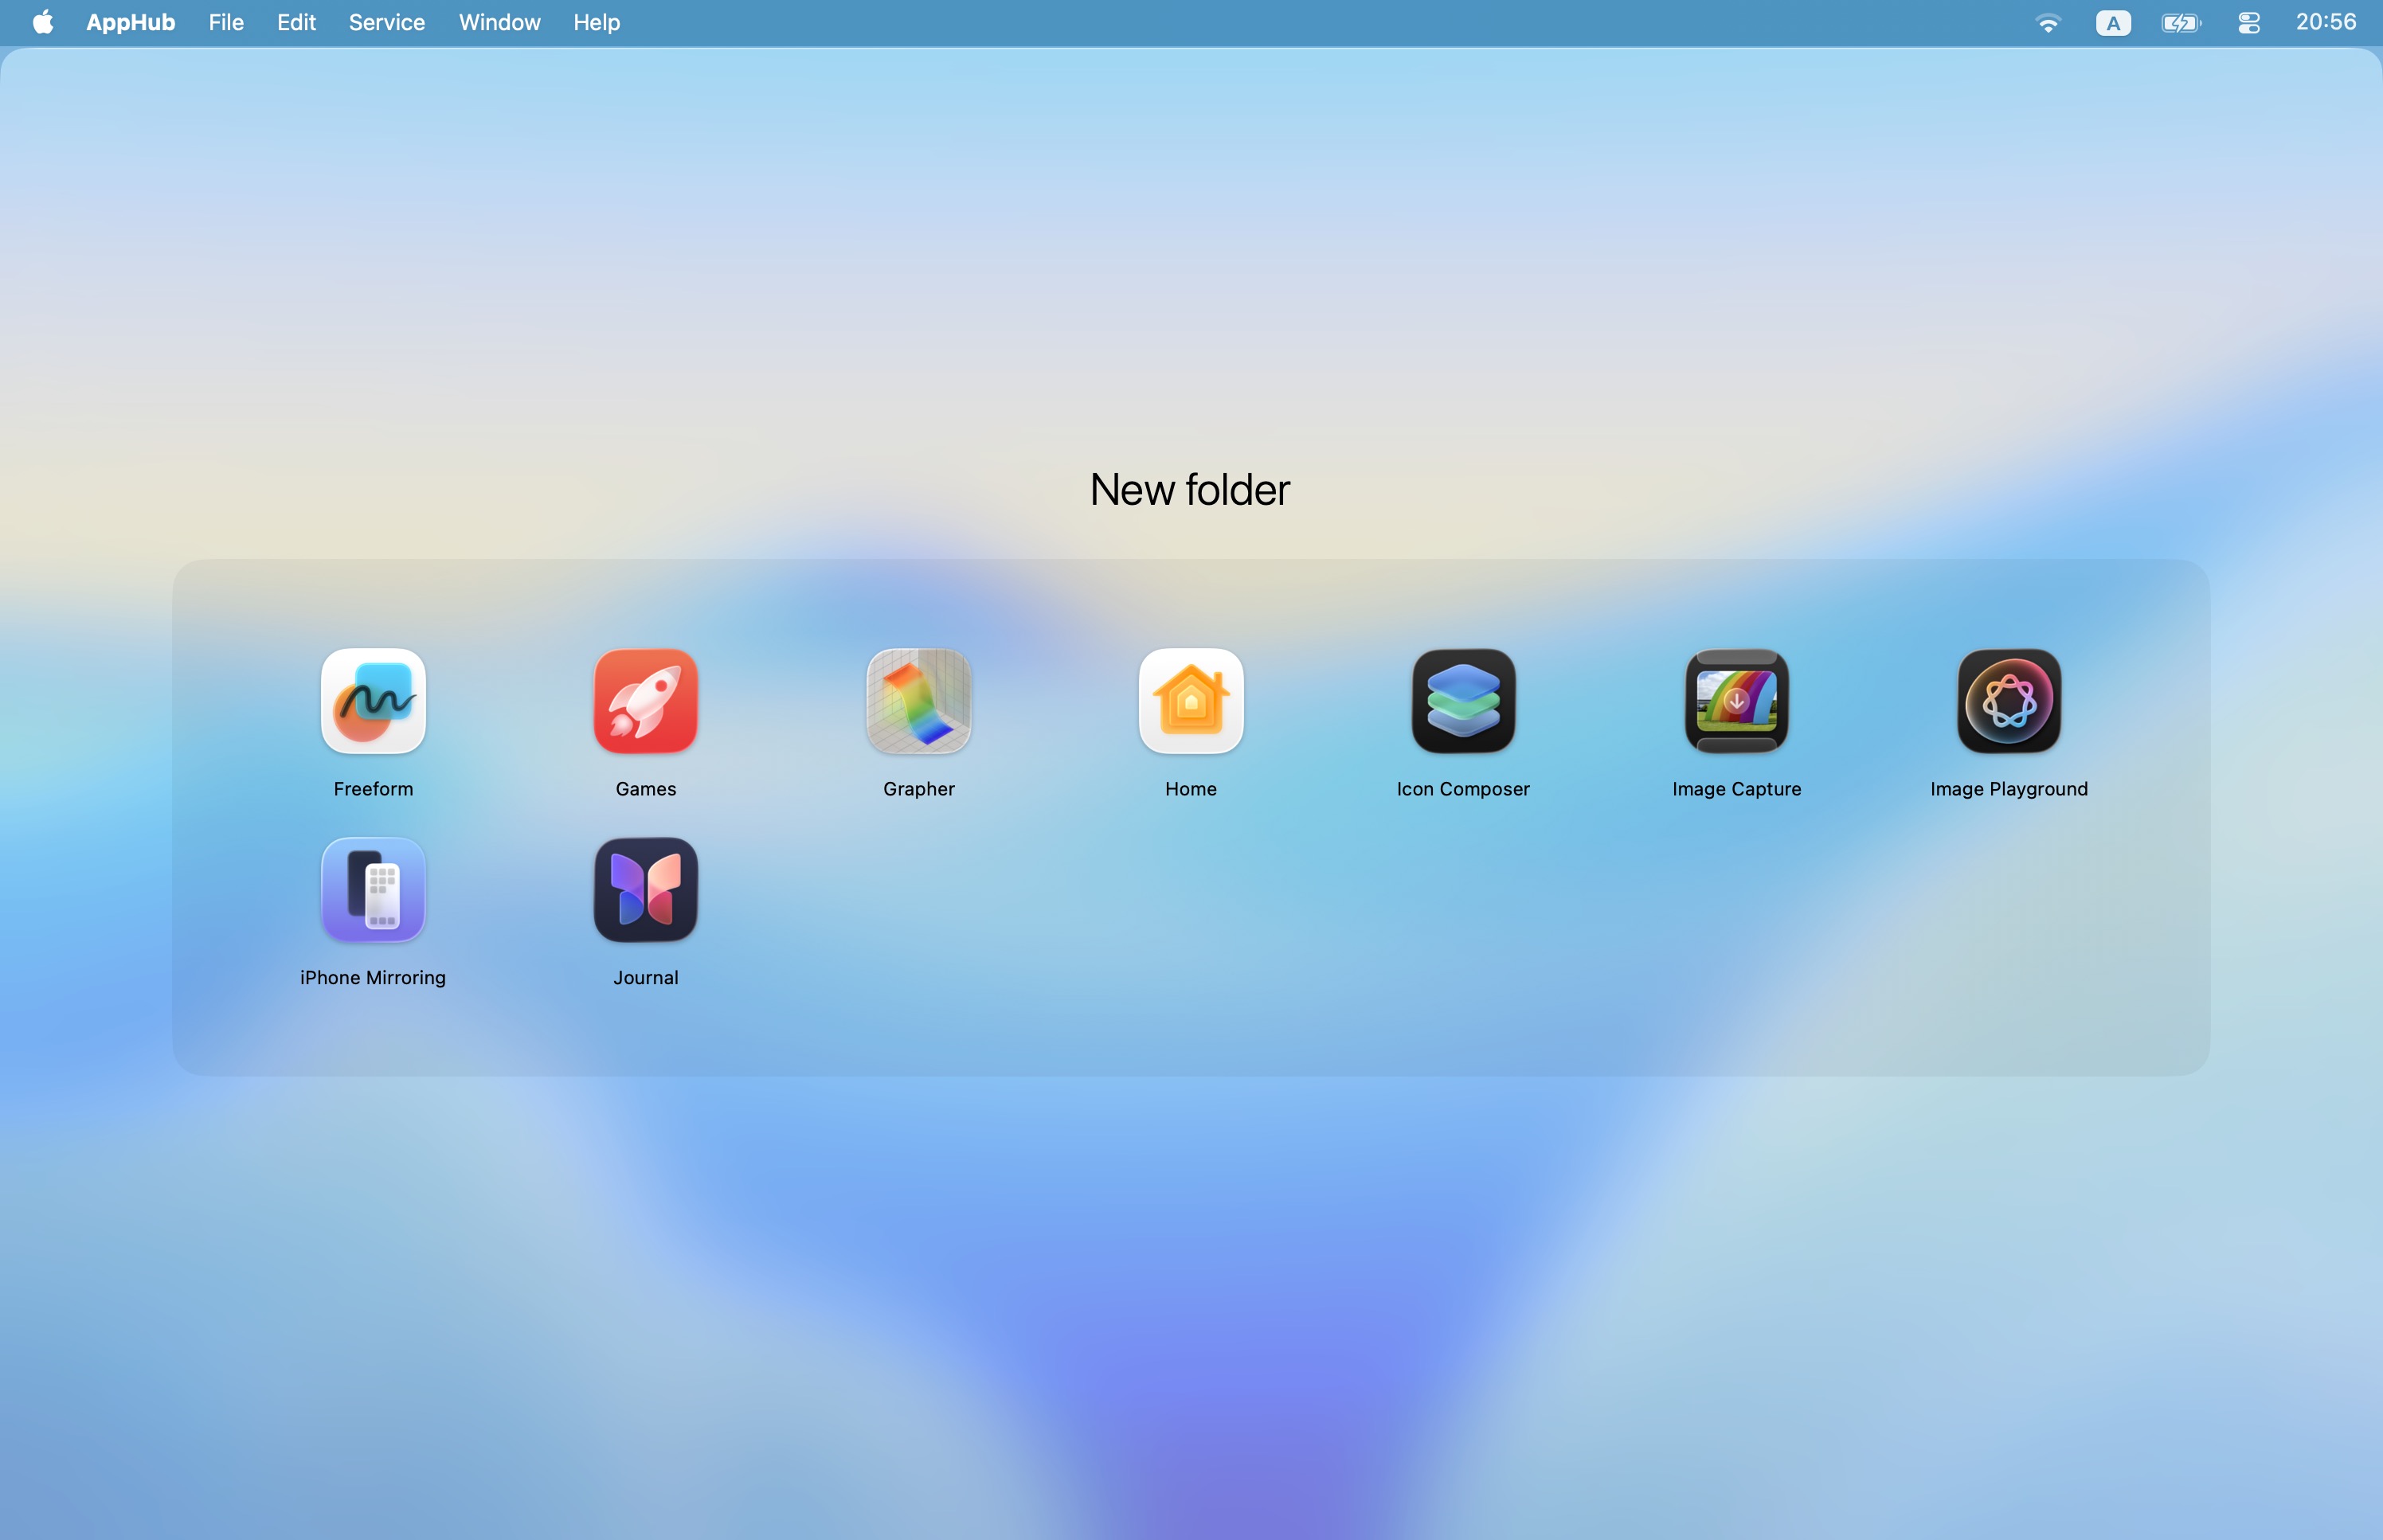
21.6 After app grid layout was changed in the compact mode, all existing folders will be moved to the last page in fullscreen mode. Fixed in v.2.1.0

21.7 If "Select apps with keyboard" option is enabled, after any folder was renamed by double clicking, any keyboard selection action (pressing an arrow key) will make a system sound – until AppHub is relaunched.

21.8 In some cases, when apps icons are moved in the grid, they appear below other apps icons, not on top of them. 

21.9 On high resolution displays, if number of rows is set to 4, opening a folder in full screen mode closes AppHub window. Fixed in v.2.2.0

21.10 On small / laptop displays (such as 16" MacBook) when low resolution is set ("Larger Text" in macOS System Settings > Displays), if number of rows is set to 6 or 7, opening apps or moving app icons in rows 6 and 7 may not work.

21.11 When Stage Manager is enabled, AppHub window may look shifted. The size of the shift depends on display resolution. Fixed in v.2.2.0

21.12 Apps that were renamed in Finder by user may work incorrectly in AppHub. If an app was in a folder in AppHub and then it was renamed in Finder, that app in a folder may show incorrect icon and refuse to open. Solution: renaming apps in AppHub instead

21.13 Apple Launchpad recreation: when the program is opened, Dock should automatically appear (even if it is hidden by user). Unfortunately, macOS limits third-party apps interactions with Dock. The only workaround for AppHub is to change the user settings, but it will require killall Dock command, which makes the screen blink once. Since it should be done on every AppHub opening and closing, this is not a viable solution.

21.14 Apple Launchpad recreation: apps list that is shown in context menu of Launchpad icon in Dock. Unfortunately, if implemented, does not work properly due to a SwiftUI bug. Implementing the custom context menu in the Dock icon will require switching to AppKit (full rearchitecting of AppHub). Solution: "Apps list in the menu bar" feature

21.15 Apple Launchpad recreation: trackpad gesture to open the program. Unfortunately, Apple does not provide public APIs for trackpad gestures. For a Launchpad alternative it is even more complicated: because of Apple devs stupidity and rushed development, in macOS 26 the four-fingers pinch gesture to open "Apps" app (that was used for Launchpad previously) cannot be separately disabled anymore – only if "Show desktop" gesture is disabled, which may be just another bug. Solution: self-designed Trackpad Support Engine

© Copyright 2025 AppHub.  |  Privacy Policy